

Reed Preparation for Single-Reed Players
by Robert F. Wall
Band directors realize that oboe and bassoon players must always work on their reeds to play with a good, characteristic tone. However, many band directors allow the single-reed players (clarinet and saxophone) to take a reed out of the box, put it on the mouthpiece and start blowing! Most times the results are not as pleasing as the director wants to hear.
This article will give the band director some guidelines for single reed preparation so that the clarinets and saxes will sound their best. The problem with clarinet and sax reeds is that they are dried completely before shipment to the retailers. Reed cane is a grass product with the consistency of wood. Because it has this consistency, it has a tendency to warp when soaked in water or saliva. A warped reed cannot seal correctly on the mouthpiece facing thus causing several tonal problems and/or response problems. To lessen these problems, the reed must be carefully prepared before being played for extended periods (like a rehearsal or concert). The following preparation procedures are not my original ideas. Like all smart teachers, I borrow ideas from any and all performers and teachers I meet. This is a good rule for all young band directors! Take anything that works and use it – – you DO NOT have to come up with all new ideas yourself.
Single-Reed Preparation
To begin reed preparation, you must have certain tools of the trade. First, a good flat work surface. A glass surface is best. I had a 12 inch square of 1/2 inch glass made for me to work on reeds. I also have a 4 inch by 6 inch piece of Lexan that I use when I travel. The Lexan is preferable to glass because it will not break easily. The flat surface is a must to make sure that the reeds are flat when they dry (this will be explained later).
Next, you need a resurfacing product. Wet-or-dry sand paper (2000 grit, available at auto supply stores) makes a good resurfacer. I also use an Arkansas soap stone (whetstone) for resurfacing. I carry a Nicholson Handy file in my case for emergency resurfacing. It is about 8 inches long, with a smooth side and a rougher side. It does a good job of the initial resurfacing of the reed.
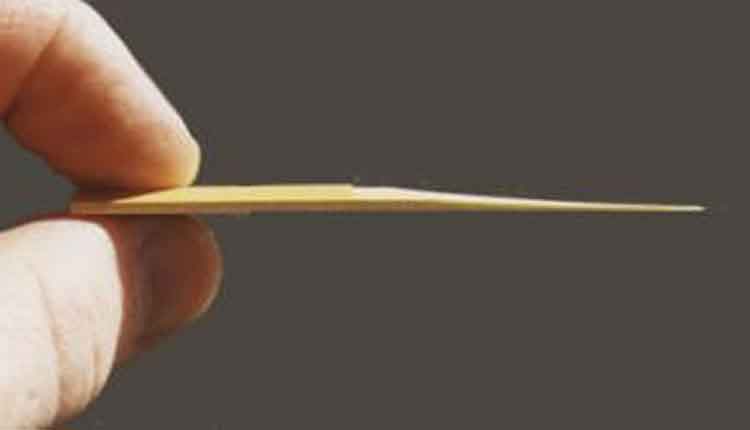
Now – – what to do. As stated above, reeds will warp when exposed to moisture. The back side of the reed must be made as flat as possible so that it will lay flat on the table of the mouthpiece. To begin, soak the reed in distilled water for a few minutes to let the reed regain some moisture. This is a very important step. Cane is a natural fiber. Without moisture in the cells of the reed, it will break down much faster when exposed to the vibrations of playing. The stress of performance vibrations on a clarinet reed are extreme – – in excess of 1000 vibrations per second for altissimo notes. I soak the reeds initially for about ten minutes before starting to work on them.
After the reeds have absorbed some moisture, dry them partially with a paper towel so that they are easier to work. Place the reed down flat on the wet-or-dry sand paper and, using three fingers placed on the vamp of the reed, gently work the reed back and forth until the back is flattened. This can be determined by holding the reed up to a light source and looking down the length of the reed. The flat surfaces are the polished parts – any dull looking part is still warped. Continue working the reed on the sand paper until the entire reed surface looks polished. Place the reed down flat on a piece of glass and let it dry overnight. Repeat the process the following day. Soon the reed back will look like a glass surface when held up to the light source. It may take three to four days before the reed is ready to play for performance. Most reeds will perform better when this process is followed. It is advisable to finish polishing the back of the reed with the back side of the wet-or-dry sand paper. That part of the sand paper has a waterproofing substance that will seal the back of the reed so that moisture will not affect it as much. The waterproofing substance will not hurt you or your students – – at least it has not hurt me and I have been doing this to reeds for about 35 to 40 years.
When I work on reeds for a performance, I usually start the resurfacing procedure with the Arkansas Soap Stone. This is usually used to sharpen knives, but works very well on reeds for the initial part of the procedure. I do finish the reeds with the 2000 grit sand paper so that they have the glass finish. Reeds finished in this manner will last longer than unfinished reeds. This will save the students money in the long run – – BUT, be prepared for the eventual messed-up or broken reed when learning this process. Another hint, use a reed at least a half strength stronger than usual. For example, if you usually play a #3 1/2, try a #4. This process takes some of the reed material off of the back of the reed making it seem softer.
As you will note, I did not mention anything about working on the vamp of the reed. Working that area is best left to the professional private lesson teacher until the student becomes much better acquainted with reed preparation. Unless the reed is badly balanced across the vamp, work on that area is not needed. The work on the back of the reed will make a tremendous difference in the performance qualities of the single-reed and the single-reed players.
For more information about this process, these two books are highly informative:
Handbook for Making and Adjusting Single Reeds by KalmanOpperman, Chappell & Co. 609 Fifth Avenue, New York 17, NY
Reed Guide (A Comprehensive Handbook of Modern Reed Working for all Single-Reed Woodwind Instruments) by George T. Kirck, The ReedMate Company, P.O.Box 1217, Westbrook, Maine 04092-1217, USA