

Reed Selection and Adjusting Tips
Color
- Look for reeds with an overall golden color.
- Avoid reeds that have a greenish tint or a dark brown tint. The cane used to make these reeds has not been cured properly.
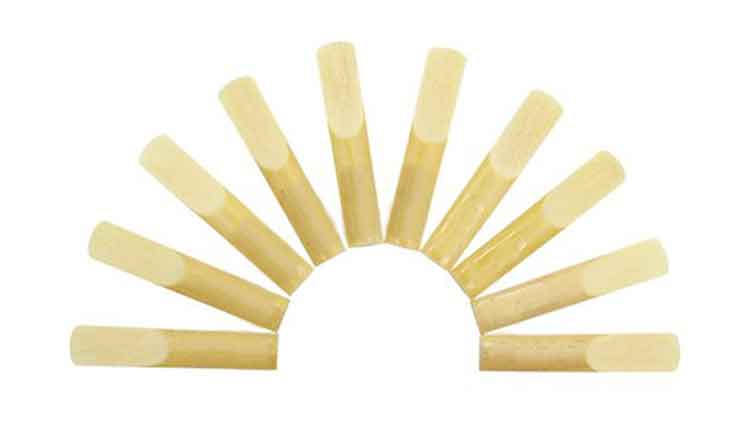
Cut
Reeds #1 and #2 would not be the best choice. Points A and B do not line up. When these reeds were cut, the blade went in deeper on the B side, making the reed thinner in that area. The best choice, reed #3, has even A and B points, indicating a more balanced cut.
Reed Thickness
Reeds with a thicker blank produce a darker sound and add more stability to the reed.
A Reed Will Not Play Well When
- One side is thicker than the other.
- The tip is too thin or too strong. (1)
- The lower edges are too heavy or unequal. (6)
- The center does not sufficiently resist lip pressure.
Reed Fixing
- When a reed sounds good but a little too heavy, the lower edges probably are too strong or uneven. (4 and 5)
- When a reed sounds good but too soft, cut the tip until the desired strength is obtained.
- When a reed sounds good while playing forte, and heavy when playing soft, the tip is too strong.
- When a reed whistles or squeaks, one side is too strong.
More Depth of Sound
Scrape the right tip of the reed 1/16 inches back from the tip (below 2). If the reed sounds heavy, scrape 1/2 inches back from the center, toward the tip. If high notes don’t sound free and vibrant, scrape the left tip 1/8 inches below the tip.
The sandpaper file is used exclusively for rounding corners of the reed after cutting, so as to match evenly the tip of the mouthpiece. Sometimes, square corners of a reed make a buzz in the tone. Use the sandpaper file in an upper direction, lightly.