

Tips For Teaching Beginning Clarinet Players
Randy Navarre
Tips For Teaching Beginning Clarinet Players
Randy Navarre, September 1996
The following tips are from a series of articles which I have written for BandWorld Magazine. The first issue on teaching the clarinet started with the March-April, 1996 issue and will continue through the August-September, 1996 issue. To order back iss ues and subscribe, call BandWorld at 1-800-247-2263. Complete details with photos, plus more hints are included in these article.
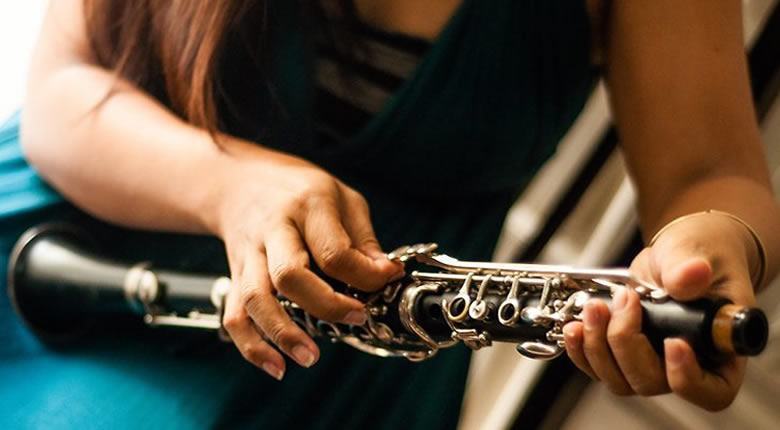
1. Take time to show new students how to put the instrument together properly. Make sure the upper body part is placed in the student’s palm with the holes facing up. The fingers should press the second ring down to make sure the side lever is up, so when putting the upper and lower body parts together, the keys will not become bent. It will save on repair bills, and make you look like you know what you are doing.
2. When putting the reed on the mouthpiece, make sure the tip of the reed lines up with the tip of the mouthpiece. Also, use strength #2 reeds for beginners. #1’s are too soft, and does not have a good sound.
3. STOPPING SQUEAKS: The major cause of squeaks in young players is embrochure. The instrument is in perfect condition, and their embrochure appears correct, but they just keep squeaking. You have made sure the instrument is put together properly, their bottom lips are covering their bottom teeth, and their fingers are playing an E so there is not a problem of covering the holes, yet they continue to squeak. The majority of the time, this is because the top teeth are not touching the mouthpiece. It may appear that they are, however, if you were to lightly tap the mouthpiece, you would see it slide right out of the mouth. Place your left hand on their head, and with your right hand push the clarinet firmly and gently up against their top teeth. They will then feel what you mean when you tell them to have the top teeth touch the mouthpiece, and will be able to continue to follow your instructions. By doing this procedure, I can push the mouthpiece further into the student’s mouth or pull it out a little to help to obtain the correct and most comfortable position.(see picture below)
4. Have the students start reading the notes they are learning by the second lesson. Do not delay this. This is important to their sense of accomplishment, and you want them to recognize fingers, notes, and sounds to the notes on the page.
5. Good posture is important. Make sure they sit on the edge of the chair, both feet flat on the floor, looking straight ahead.(see picture below)
6. If a student is having a hard time keeping up with the notes in the book, help them out by pointing the notes out to them as the class is playing.
7. TUNE THE STUDENTS. From the time the students can produce a stable sound or even just begin to do so, tune them. Make sure the are taught to listen to themselves and others immediately. You cannot tune students the night of the concert and expect the students to play in tune during their performance. If they have not learned to listen everyday, they will not be able to do it on a concert when they are nervous. I always start tuning the students by the third lesson. This is extremely important. No matter how many notes they can play, if they cannot play fairly well in tune, they will sound bad, and they will quit!
8. Make the class fun. Humor is always helpful. Make the students smile and laugh. Band must be a fun experience.
This article sponsored by Northeastern Music Publications, Inc.