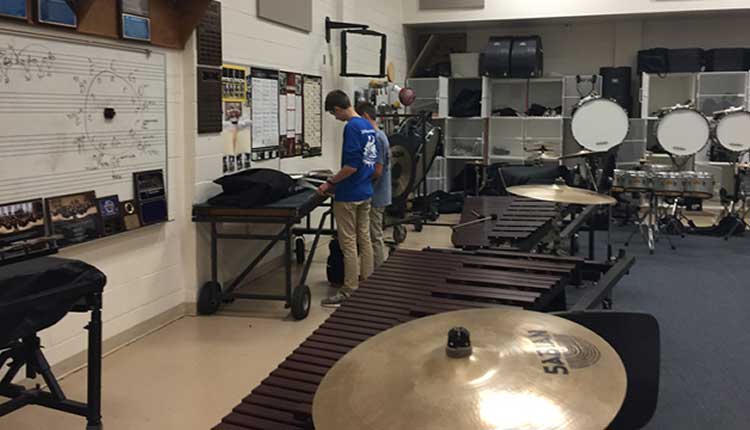
You teach elementary or middle school instrumental music and hear the sounds of marching band camp from a nearby field and think, “I’m glad I don’t teach high school so I don’t have to be preparing for school yet”! Or you teach grades 5(6)-12 in instrumental music and are involved in that marching band in the hot days of August. You think, “I have to get this marching band going before I can begin to worry about the elementary or middle school groups”! If only that could be true.
The fact is, it’s very important to start your middle schooler’s year in an organized and structured manner. Regardless if you have taught in the system for a time and have an idea of the level of your groups, or are a new teacher in the system, a good starting point musically, is to choose a technique book to be used everyday as a part of the warm up. By starting with this book, you will better be able to access the musical level of the group, which will assist you in music selection. In my teaching,
I used something from a technique book every day, even the day before a concert or festival performance. Even though the book may begin at a level below the present skills of the band, it will provide a review of tone production, articulation, rhythm, playing position, ensemble playing, etc. Right now would be a good time to write a short welcome letter to be mailed home, concerning the beginning of the year needs (money for a book, reeds, oil, etc.) and the schedule for the first few days of school when there are half days so they know when to bring instruments.
That being done, the next task might be writing or revising a band handbook. This needs to include a welcome from you, a description of each band, expectations, rules and consequences of your room, academic and behavioral goals, grading policy, etc. Think this through carefully. Your administrator will need to approve your document and support you in requiring it be read and signed by student and parent.
If you need help in designing either of these, a good source is the ASBDA Curriculum Guide or contact any neighboring veteran director and/or write to me. Next, you need to get folders ready for the students. I had a folder for each student. If they share and someone is absent or forgets it, the productivity for the students that day is done! Put each student’s name and band on each folder. After you set up your room, place the folders on the chairs as a seating chart for the students. If you don’t know your students, start by seating them alphabetically by section.
This will be a aid to you in learning names. Playing tests for chairs can follow in the first few weeks. Make a grid of your instrument locker area and assign spots for each child’s instrument. If there aren’t any numbers on the lockers, write them on with a permanent marker. I feel it’s important that each child have a place assigned to leave their instrument. If lockers or “cubby holes” are unavailable, assign an area for certain instruments. Insist each child have a name tag on the case. I found it easier to get name tags from my instrument dealer and either sell or give them away (depending on whether or not you had to buy them). Some families either don’t or won’t take the initiative to shop for a tag, so you have solved the problem without hassling the child. The first time you meet the children it’s important to have your office, your room and you, organized.
This will enable you to meet their immediate needs quickly and efficiently. There are so many other details. You’ll soon find them! The key is–GET STARTED NOW! Bio and Info Click here


