

Beginning Flute Basics
Dr. Janet Heukeshoven
Saint Mary's University, Winona
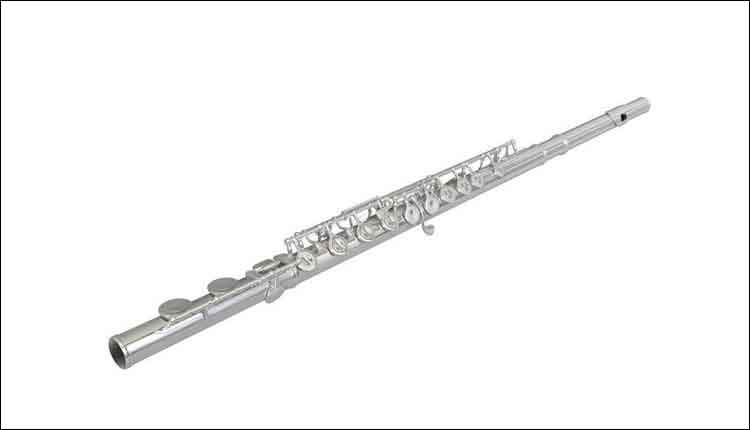
Equipment
For most beginners, a good equality closed hole instrument will be best. My suggested “best brands” are Yamaha and Gemeinhardt, but also Armstrong, and Pearl will do well. Some makes of flutes do better with upper-level instruments and tend not to have great “first flutes”, but the Yamaha and Gemeinhardt are consistently good instruments, and repair people find they have fewer problems.
Please make sure that each student flute has a cleaning rod and soft 100% cotton cloth for swabbing the flute, and encourage students to ALWAYS clean their instrument after playing. (I use a men’s hanky!) Make sure they fold the cloth over the tip of the cleaning rod. I do not endorse the “pad saver” fuzzy swabs kept inside the flute as they simply retain moisture inside the instrument when the case is closed.
Students who are very small physically will benefit from the curved head-joint flute, and students who have larger hands may be best served starting with an open hole instrument, such as the Yamaha YFL361(H) or 461(H).
First lesson
Always begin with only the head-joint. Focus on teaching students how to breathe properly the first few weeks flute players need to breathe properly to be successful. My students play a variety of sounds on the head-joint (closed, open, glissando-like sounds, etc.) and according to their ability, I provide a fun (and challenging) rhythm only play sheet to play on just the head-joint. Long tone contests in a group setting are effective, students need to be able to hold a steady, secure pitch on the head-joint before assembly of the instrument.
Second and third lessons: This is when you teach them correct alignment of the parts of the flute, teach the best position with minor adjustments for the size of hands and length of fingers. I start with the following lower octave pitches: B, Bb, A, G, then middle range D. Then the following pitch order is usually F and F#, Eb all middle range.
Articulation
Right away (after the first few sounds are made on the headjoint) I teach basic articulation, using the “too” approach. I want to avoid the “whoo” players who also want to breath between every pitch! I also start teaching slurs right away – there really is no reason to wait, and it reinforces good breathing techniques. In two short lessons about a week apart, students can be encouraged to play and improvise their own little tunes, most of them quite successfully!
Common Problems Seen in Flutes
If they can’t get a sound at all it’s usually due to either the positioning of the flute under the lip (usually too high) or sideways so the air stream is not hitting the “perfect place” to create the sound. Lip structure may be a challenge. Not all flute players can play out of the center of their lips due to the physical structure of the mouth, such as the “tear drop” lips. They will learn to play slightly sideways and will still get a beautiful tone Rampal did!
The following are all helpful hints for working with flute players of all ages:
- Hand Position (ALWAYS a challenge, give them plenty of room, if possible don’t share music stands.)
- Body Position (Again, give them ROOM!)
- Breathing & posture (Sit tall on edge of chair, breath to your belly button, practice standing up at home.)
- Fast air stream (The “mph” image seems to make a big difference with many kids)
- Aperture size control (soft dynamics = smaller opening in lips. If flutes just blow softer they will always be flat.)
Pitch problems can usually be improved by a combination of ALL of the above concepts. Bring a video camera to your flute sectional, it’s amazing what happens when they can see what they do! (Mirrors in practice rooms and at home, too.)
Other troubling things for students: Fingerings!
Different high range fingerings sometimes they try to play 2nd octave fingerings in the third octave. (Especially watch D1s and Eb1s, different all three octaves.)
Bb fingerings: please teach all three options, but students should be very comfortable with both Thumb 1&4, and thumb Bb key. (But high F# cannot be played with Thumb Bb key depreesed.)
Middle range D and Eb/D#: first finger up, always, no exceptions ever. Pitch and tone color/quality are noticeably affected if first finger is left down.
F# middle fingering is always flat, use end finger next to pinky. (No saxophone fingering!)
Ok for trills and very fast passages only.
Start teaching them the chromatic scale right away even if your method book doesn’t.
Teach scales (both major and relative minor) by key signature, not with music. For example: CM-am, FM-dm, GM-em, etc. My students love the somund of harmonic minor!
Find opportunities to play in all keys, at least up to four sharps and four flats. (Transpose the music if necessary!) Method books ignore sharps for too long.
A few favorite collections I use with all of my private students which I believe would be great for school use:
Favorite easy first solo book:
40 little Pieces in Progressive Order for Beginner Flutists (Shirmer/Moyse, distributed by HLP) – Great for first year students, easy classical melodies with piano.
Favorite first etude book (for flute students starting second year of lessons):
Selected Duets for Flute (Volume 1 is easy-intermediate, Volume 2 is Intermediate advanced, great up to high school)Rubank/Voxman, distributed by HLP, very easy to find.
About Dr. Janet Heukeshoven:
Assoc. Professor of Music at Saint Mary’s University
Director of Bands, Music Education Coordinator, Flute Instructor
Private applied studio flute teacher for over 30 years
Flutist with the La Salle Woodwind Quintet, Winona Municipal Band,
Flute/piccolo staff member with Minnesota Ambassadors of Music.